


![]()
THE WORLD OF GOLF Contact us here !
GOLF 4 YOU US INC. 8 The green Ste A Delaware, Dover 19901 - United States.
GOLF 4 YOU LIMITED. Kemp House 160 city road EC1V 2NX, London - United Kingdom.


Almost every golfer would love to have their own putting green, but many assume it’s something that can only be achieved if you’re very rich. Actually, the truth is as long as you have a garden with a decent amount of free space, you can create an amazing putting green easily. Let’s take a look at how you can build your very own putting green.

The first choice you’re going to have to make is whether you’re going to have a putting green with either artificial or real grass. There are benefits and drawbacks to each option and the choice you make will generally fall to personal preference and the requirements of your garden.
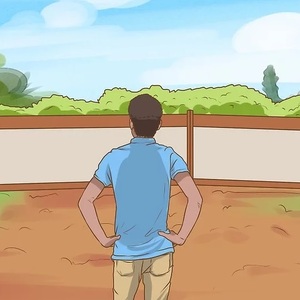 1. CHOOSE THE BEST GREEN LOCATION
You'll want your putting green to be located in an open area in your backyard that gets plenty of sunlight. Your future green should receive plenty of airflow, without any blockage of wind from buildings, bushes, or trees. (Low spots in your backyard or areas that drain poorly should be avoided.)
After you've found the ideal place for your green, you should: Imagine the overall dimensions for your green. After you have a feel for the features of your soon-to-be putting green, take a piece of paper and sketch out the general design, including desired measurements.
Then, measure and stake out your planned putting green area.
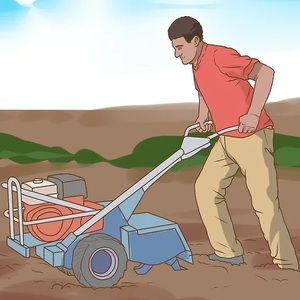 2. GET THE SOIL READY
Your next step is to get your soil ready. Take a look at the current soil in your garden – ideally you are looking for a sandy loam soil, but grass can grow in many types if soil. If the soil contains too much clay, however, this could be a problem. Remove any turf from the planned green location and rake away rocks and other debris.
Using a tiller for the soil will loosen and aerate the soil even more, promoting even better growth and soil consistency.
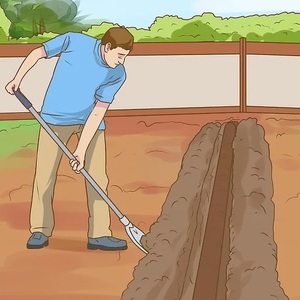 3. ADD SOME DRAINAGE
The best way to ensure that your putting area stays sufficiently drained is to install vented plastic pipe.
Dig trenches that are roughly 24" deep and 12" wide and run from the edge of your green through the middle. The trench should slop downward away from the green to carry away any excess water.
To install drainage, you should:
1 Place filter fabric around the bottom of your trench so it reaches up the sides.
2 Lay your perforated / vented plastic pipe in the trench.
3 Fill your trench with 12 inches of coarse, clean gravel.
4 Fold the ends of your filter fabric on top of your gravel.
5 Refill the remainder of your trench with soil.
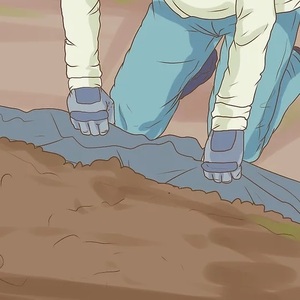 4. SEPARATE THE GREEN
Next, it’s a good idea to separate your green from the rest of your garden. This can stop weeds from growing in the green. The best way to do this is use a plastic lining.
Add some contour
You’re not trying to replicate the greens at Augusta national. But you do want your putting surface to have a little lilt. If the ground doesn’t have any natural contours, you’ll need to add them. You can, in theory, do this job by hand, adding humps and bumps to the terrain.
Using a tiller for the soil will loosen and aerate the soil even more, promoting even better growth and soil consistency.
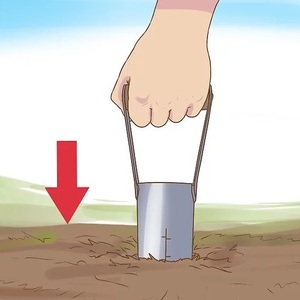 5. PLACE THE HOLES
Now you need to add the putting holes. Cut out a hole that this slightly larger than a golf ball. You don’t need to add a cup or anything else just yet, this simply acts as a guide to the layout of the putting green. The rest of the work can be done later.
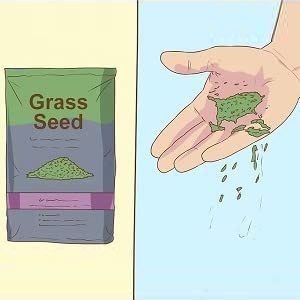 6. PLANT YOUR SEEDS
Now the soil is ready, you can plant your grass seed. It’s a good idea to mix the seed with a little sand to give it some cover. This could be very important if you get a lot of birds on your property, though if you notice birds feeding heavily on your seed, you may want to scatter extra.
 7. Now comes the labour-intensive part of the putting green creation process: WATER, MOW, TREAT AND REPEAT...
WATER YOUR SEED - Newly sown grass is very thirsty, so you'll need to water your green heavily, twice daily. It should take around 10days for the grass to germinate.
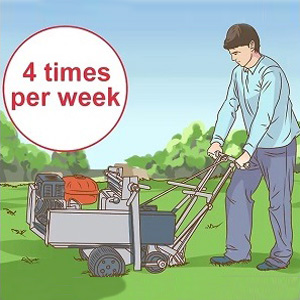
MOW WITH A GREENS MOWER - The 1st cut of your putting green should be after the grass has exceed 2" in height. You will need to be careful when walking behind your greens mower. Walk with gentle, flat footed steps to protect the top layer of your green. As a good root system grows, the ground will firm up. By cutting your grass 3 or 4 times / week, it will maintain a height of around ¼", a perfect putting height
TREAT THE GREEN - You should look into special treatment for your type of grass and find what works best for your situation. This will depend on the kind of grass you have decided and the area in which you live. Certain kinds of grass are more sensitive to certain kinds of diseases, and some strains might not live in your region. Generally, you should administer treatment once every month
 8. FINISHING TOUCHES
INSERT YOUR PUTTING CUP - The putting cup will give your green a realistic feel. You can further sculpt your putting hole by using a jigsaw or a golf-hole-cutter, and insert the cup. Your putting cup should sit a ½" below the grass level.
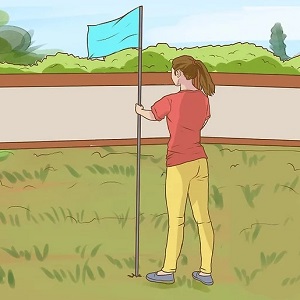
PLANT YOUR GOLF FLAG - Now take your golf flag and insert it into your cup. This is a good way of checking to see if your cup has been placed in the hole flush with the ground. An unlevel cup might mean your ball bounces out of the hole more frequently than it should.
KEEP YOUR GREEN FROM WILTING - At the first sign of dryness you should water your green to prevent it from sun damage. Apply water to the putting green during the early morning hours, such as between 5 and 7 a.m.
Offer valid only for new email subscribers. Enter your email address and receive 10% off your first order and a promo code will be sent to your inbox. Exclusions apply.
